Collisions, dents, rust, and daily wear damage your vehicle’s exterior and structure. Body repair restores safety, appearance, and value through systematic steps that address every issue properly. Not all damage looks the same, minor scratches differ from bent frames or hidden corrosion that affects handling and resale.
Knowing the body repair process helps you choose quality shops and set realistic expectations. This guide explains each step of professional body repair from inspection to final delivery.
Types of Damage Requiring Body Repair
Body repair addresses three main categories of vehicle exterior and structural damage.
Surface Damage includes dents, scratches, cracked bumpers, and paint chips from parking incidents, hail, or road debris. These body repair jobs focus on restoring smooth contours and original appearance without compromising structure.
Frame and Structural Damage occurs when impacts bend chassis rails, shift suspension mounts, or twist core supports. Serious body repair realigns these critical components to restore handling precision, door fitment, and crash safety ratings.
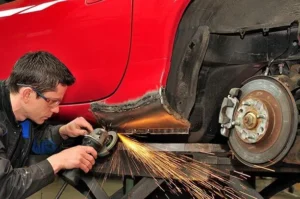
Corrosion Damage affects rockers, wheel wells, and panel seams where road salt penetrates. Effective body repair removes rusted metal entirely, welds fresh sections, and applies protective sealers to prevent recurrence.
The Complete Body Repair Process
Professional body repair follows these essential steps for factory-quality results.
Step 1: Inspection, Estimate, and Repair Plan
Every proper body repair job begins with a detailed inspection and clear repair plan. Technicians visually inspect damage, check panel gaps, and look under the vehicle or behind trims to see how far the impact traveled. Photos, notes, and measurements create a written estimate listing parts to repair versus replace and expected timeline. If insurance is involved, this submits for approval before major work begins, preventing surprises later.
Step 2: Disassembly and Hidden Damage Check
Once you approve the estimate, body repair moves to careful disassembly of affected areas. Bumpers, lights, trim, inner liners, and sometimes interior panels are removed to expose supports, crash beams, and mounting points. Hidden damage like bent brackets, cracked mounts, rippled metal, or shifted structural points often appears here, potentially requiring estimate updates.
Step 3: Structural and Alignment Corrections
If impact affects structure or alignment, precision tools restore manufacturer specifications. Shops use measuring systems and frame benches when needed to straighten chassis before cosmetic body repair continues. Correct structure ensures proper wheel alignment, predictable handling, and doors, hoods, trunks opening smoothly while sealing correctly.
Step 4: Panel Repair, Replacement, and Shaping
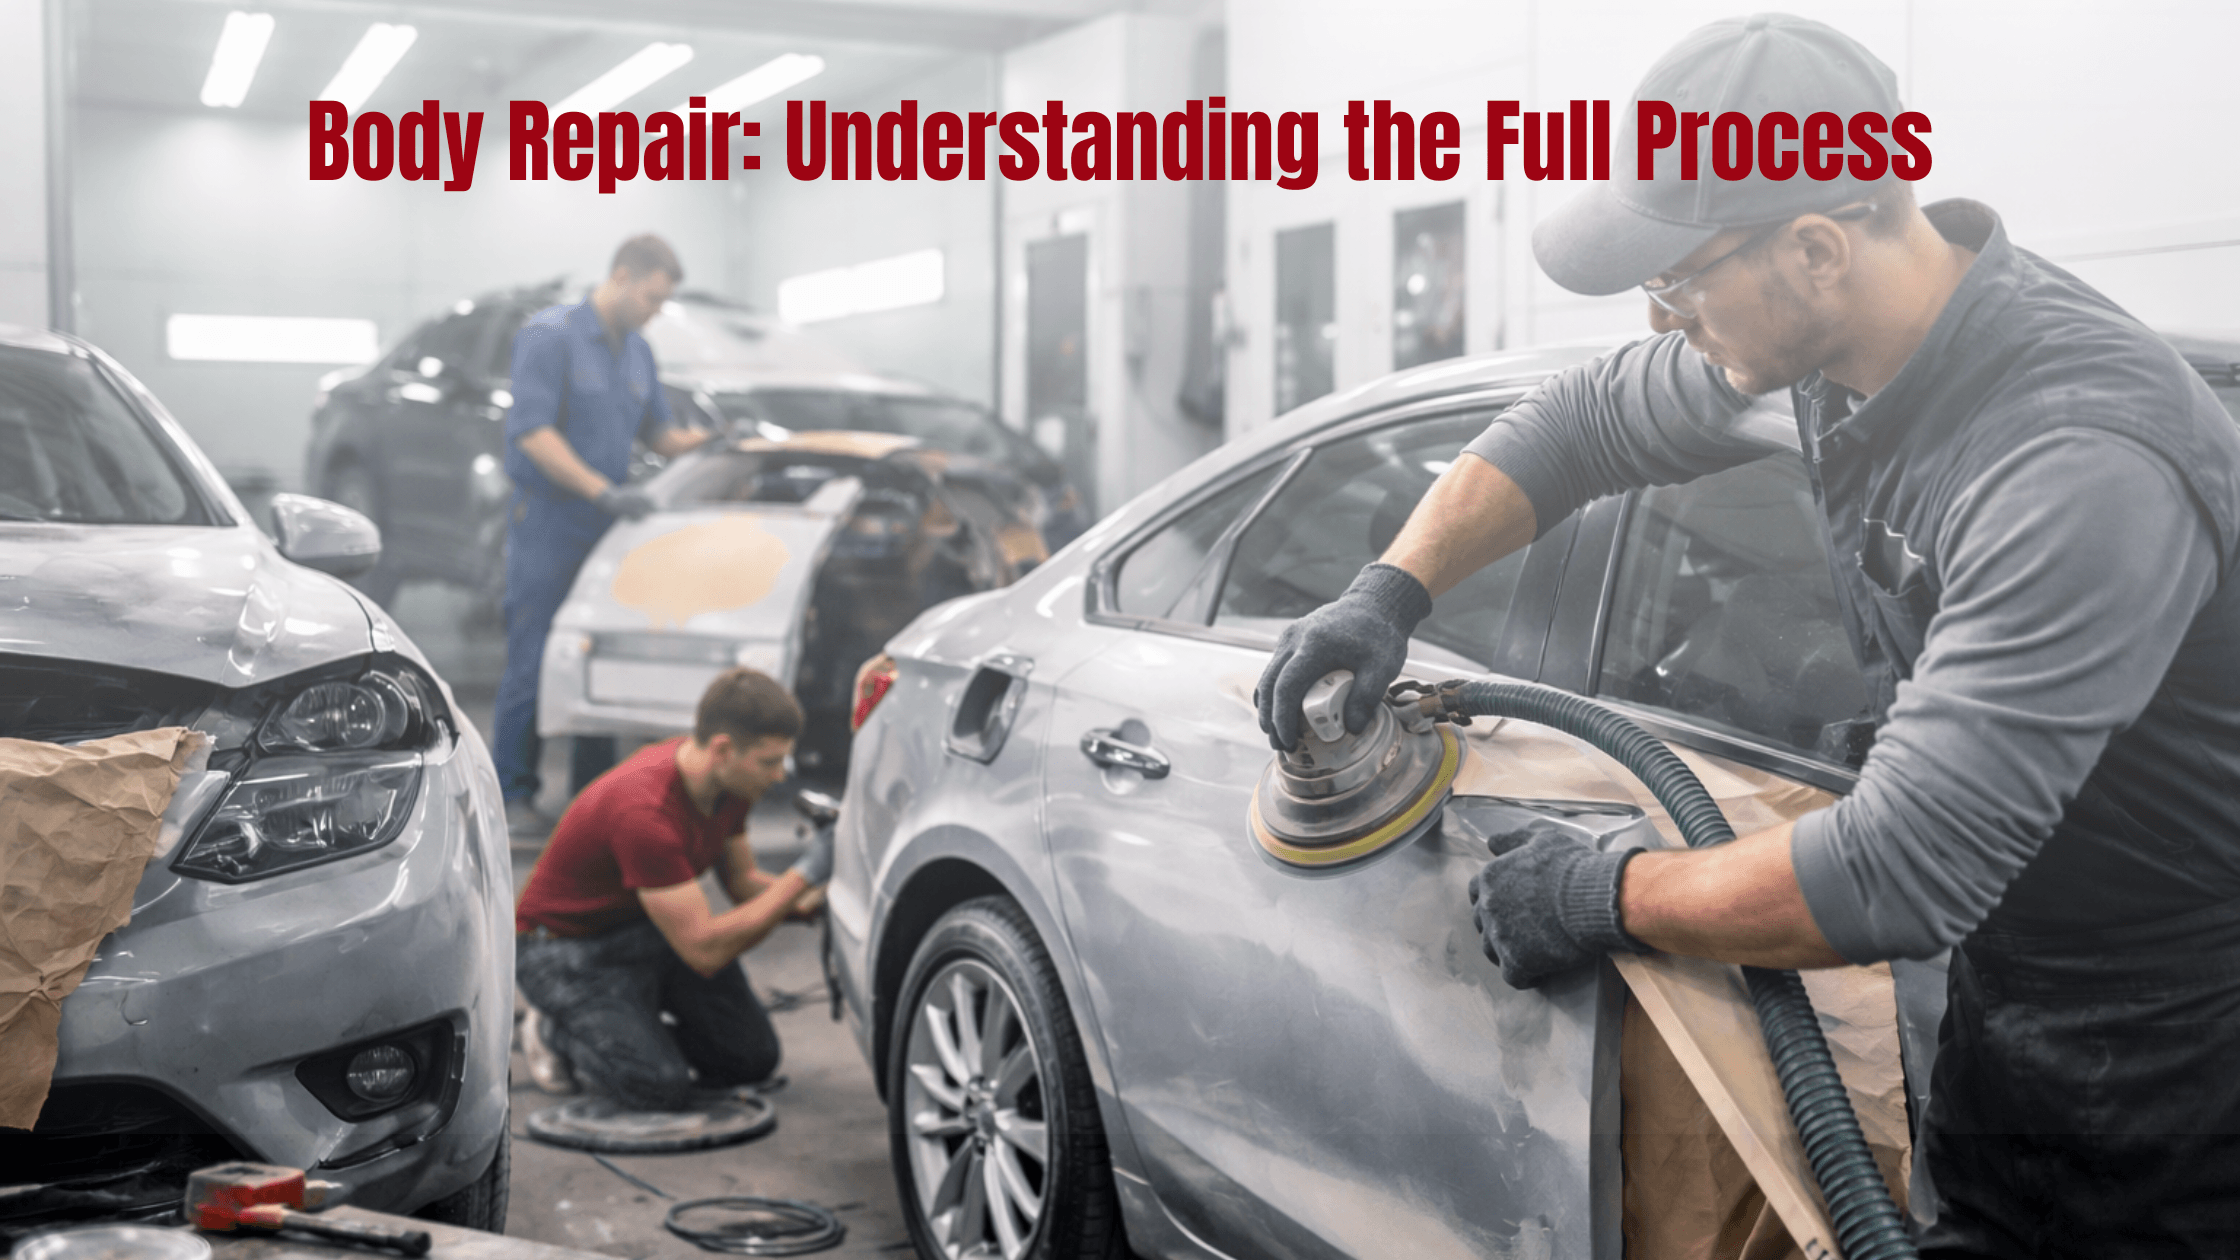
With structure corrected, body repair focuses on visible panels and surfaces. Smaller dents use paintless dent repair (PDR) if paint remains intact and metal accessible from behind. Heavier damage reshapes metal or plastic, applies fillers where needed, or replaces fenders, doors, bumpers, quarter panels beyond repair.
Step 5: Surface Preparation and Paint
Paint makes or breaks body repair results. Surfaces sand, fill, prime, and block smooth, eliminating imperfections over repaired areas. Once prepared, cleaned, and masked areas move to controlled booths where base coat and clear coat apply in multiple stages. Color matches carefully, often blending into adjacent panels so no harsh lines or shade differences appear in sunlight.
Step 6: Reassembly, Detailing, and Final Quality Checks
After paint cures, body repair advances to reassembly and inspection. Lights, sensors, grilles, trims, badges, and interior panels reinstall, followed by checks ensuring electronics, safety systems, and moving parts function correctly. Shops inspect panel alignment, paint quality, reflections, color match, and may test if suspension or alignment is involved. Only after these checks should vehicles deliver, not just visually acceptable.
Why Each Body Repair Step Matters
Skipping body repair phases compromises safety and durability. Rushed disassembly misses hidden frame damage causing handling issues. Poor structural correction leads to premature tire wear and vague steering. Inadequate surface prep causes paint peeling within months. Complete body repair maintains crash protection, resale value, and long-term reliability.
Why Choose Auto Hut for Body Repair
We handle complete body repair for cars and trucks, collision work, frame straightening, rust removal, painting, windshield replacement, and towing services for all makes and models.
Our experienced technicians follow every step precisely because we’ve restored thousands of vehicles just like yours. We use OEM-quality parts that match factory standards, explaining choices so you understand the value behind every repair.
Brampton drivers choose us for straightforward pricing, quality craftsmanship, and honest communication.